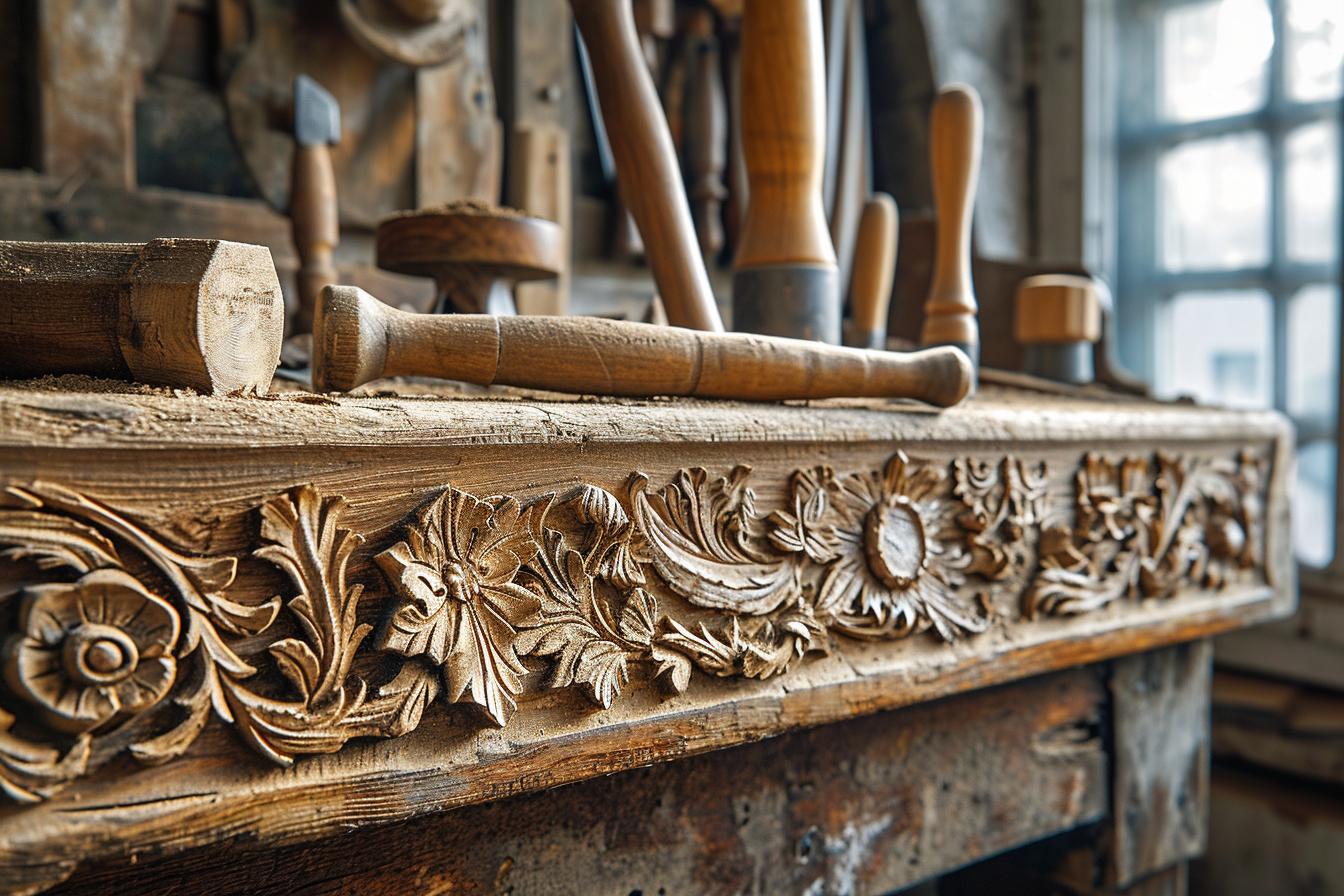
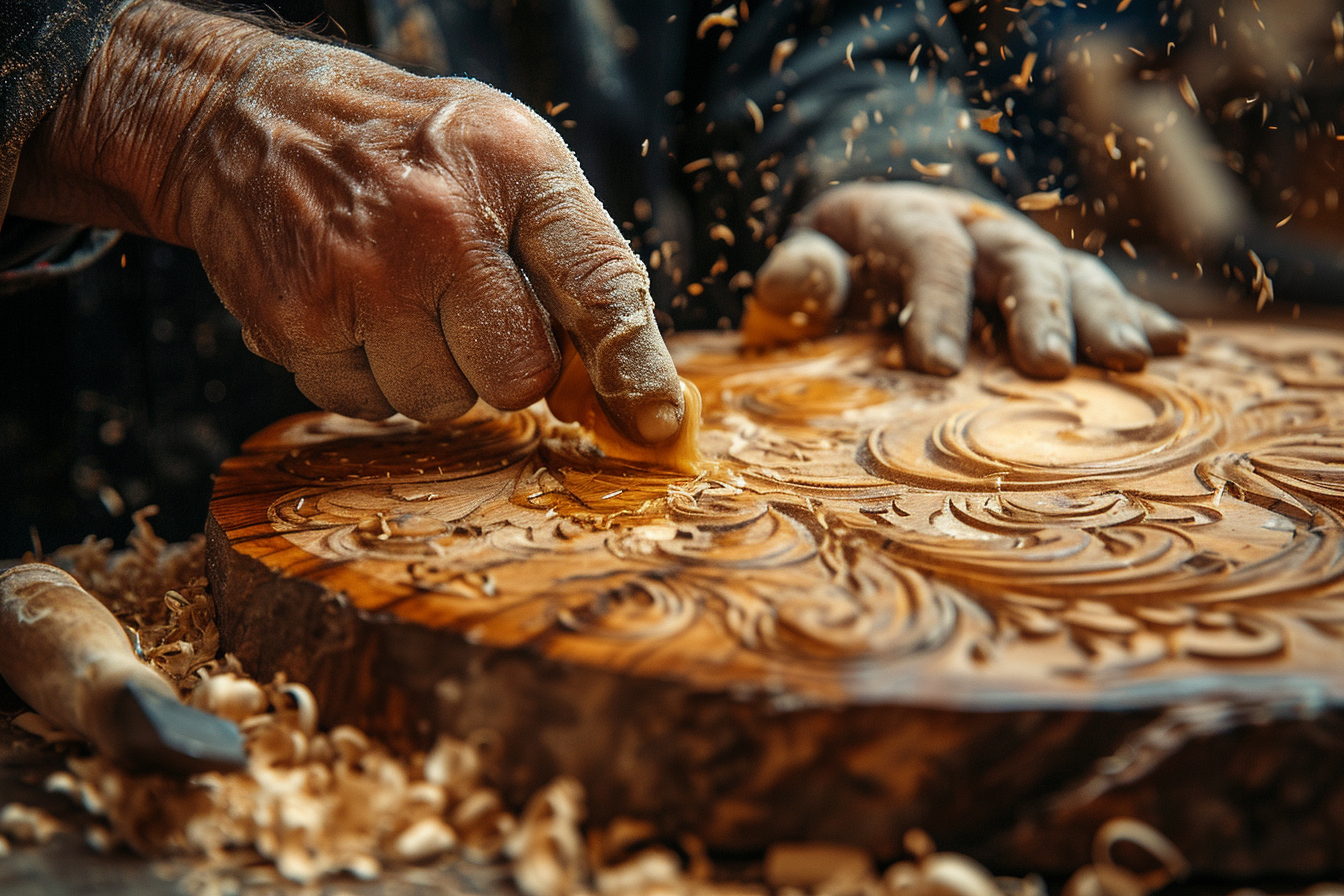
Oak wood carving stands as a testament to skillful artistry and rich tradition. This timeless craft blends patience with precision, allowing aspiring carvers to transform a solid oak block into a piece of captivating art. Learning to sculpt oak is an adventurous journey that will not only enhance manual dexterity but also instill a deeper appreciation for woodwork. This comprehensive tutorial delves into the intricate world of oak wood carving, providing the necessary guidance to master the techniques and nuances of sculpturing on this noble hardwood.
Understanding oak wood
Before even picking up a carving tool, it is essential to understand the characteristics of oak wood. Oak is a durable and tough wood with a prominent grain pattern, which adds a distinctive aesthetic appeal to the finished carving. It is also available in various types, such as white oak and red oak, each with its own unique properties. These differences in grain, hardness, and color can have a significant impact on carving outcomes.
Knowing Your Material
Oak’s strength poses both an opportunity for detail and a challenge for carving. The high tannin content in oak protects it from insects and fungi, making it a long-lasting material for sculptures. However, it also requires well-maintained tools and refined techniques to avoid undesired splits or cracks in the wood.
Tools for oak carving

Selecting the Right Tools
Investing in the right set of tools is crucial for the success of any oak carving project. Basic carving tools include chisels, gouges, mallets, knives, and rasps. Each plays a pivotal role in removing wood, detailing, and finishing the sculpture.
Maintaining Your Tools
Keeping tools sharp cannot be overstressed in oak carving. Dull tools can damage the wood or cause injury. It’s advisable to sharpen tools before each carving session and learn the correct ways to hone the edges. A strop, sharpening stone, or file is beneficial for tool maintenance.
Preparing for carving
Selecting the Wood
Choosing the right piece of oak for your project is vital. Look for wood without defects like large knots or splits. Straight-grained oak is ideal for beginners, as it carves more predictably than wood with an irregular grain.
Designing the Sculpture
Planning before carving aids in minimizing mistakes. Draw your design on paper and consider the size of the wood and its grain orientation. Transfer the pattern onto the wood by tracing or freehand drawing.
Basic carving techniques
Roughing Out
Begin with roughing out the general shape of your design. Use larger tools for this step, such as a mallet and carving gouges. The goal is to remove large sections of wood quickly but with control.
Refining Details
As the piece begins to take shape, switch to smaller tools for more refined work. Sharper, precise chisels and knives allow for intricate detailing. Follow the grain to reduce resistance and prevent unintended removal of wood.
Sanding and Smoothing
Once the carving details are complete, use sandpaper of varying grits to smooth the surface of the sculpture. Sanding is a crucial step in preparation for finishing and can greatly affect the final appearance of your oak sculpture.
Advanced carving techniques
Relief Carving
Relief carving involves creating a raised image on a flat background. Mastering relief carving on oak requires controlled cuts and an awareness of the depth of each layer in the design.
In the Round Carving
Sculpting ‘in the round’ produces a three-dimensional figure that can be viewed from all angles. This technique is more complex and necessitates an understanding of anatomy, perspective, and shadowing for a realistic appearance.
Chip Carving
Chip carving consists of removing small chips of wood in a single piece to produce a pattern or design. It relies on precision and consistency and is ideal for creating decorative elements on oak wood.
Design principles in wood carving
Balance and Proportion
Balance and proportion are fundamental to creating visually appealing sculptures. A harmonious piece requires a calculated ratio between different parts of the carving to achieve a sense of unity.
Texture and Detail
In oak wood carving, texture can bring life to a piece, making it feel as though it’s in motion or has a softness that belies the hardness of the wood. Detailing magnifies the craftsmanship of the carver, whether it’s through intricate patterns or lifelike features.
Negative Space
Manipulating negative space – the empty space around or within sculptures – is as important as the areas occupied by wood. Strategic use of negative space can enhance the overall composition and add to the narrative of the carving.
Finishing techniques for oak sculptures

Selecting a Finish
The right finish protects the wood and enhances its natural beauty. Options include oils, varnishes, and waxes. The finish chosen depends on the desired aesthetic and the conditions in which the sculpture will be displayed.
Applying the Finish
Apply the finish carefully, following the instructions on the product. Several thin coats are generally better than a few thick ones. Each coat should be allowed to dry completely before lightly sanding and applying the next.
Caring for the Finished Sculpture
Proper care will ensure the longevity of an oak sculpture. Keep it away from direct sunlight, high humidity, and drastic temperature changes. Dust it regularly and reapply finish as needed over time.
Practice and progression
Starting with Simpler Projects
Carving simpler designs allows for skill development without the overwhelm of tackling a complex project right away. Begin with flat-relief carvings, progressing to more three-dimensional works as comfort with the tools and techniques increases.
Taking Classes or Workshops
Joining carving classes or workshops can accelerate learning. Having an experienced instructor provide feedback and demonstrate techniques can make a significant difference in mastering oak carving.
Engaging with the Carving Community
Interacting with other carvers, whether through clubs, forums, or social media, offers access to collective wisdom, provides encouragement, and can inspire new projects.
Creativity and personal style
After gaining experience, carvers often develop a unique artistic voice. Experimenting with designs, combining carving styles, and pushing the boundaries of traditional techniques can lead to distinctive and innovative works that reflect the carver’s personality and vision.
As carvers continue to navigate through the depth and breadth of oak wood carving, they uncover layers of their own artistic identity, shaping not just the wood but also their craftsmanship narrative. While oak poses its set of challenges, it rewards the patient and dedicated sculptor with works of beauty and durability.
The mastery of oak wood carving is a continuous exploration. It invites artists to deepen their understanding, refine their skills, and express their creativity through the fibrous tapestry of one of nature’s most enduring canvases. As such, the journey of learning to sculpt oak is an open-ended pursuit, rich with the potential for growth, innovation, and artistry.

