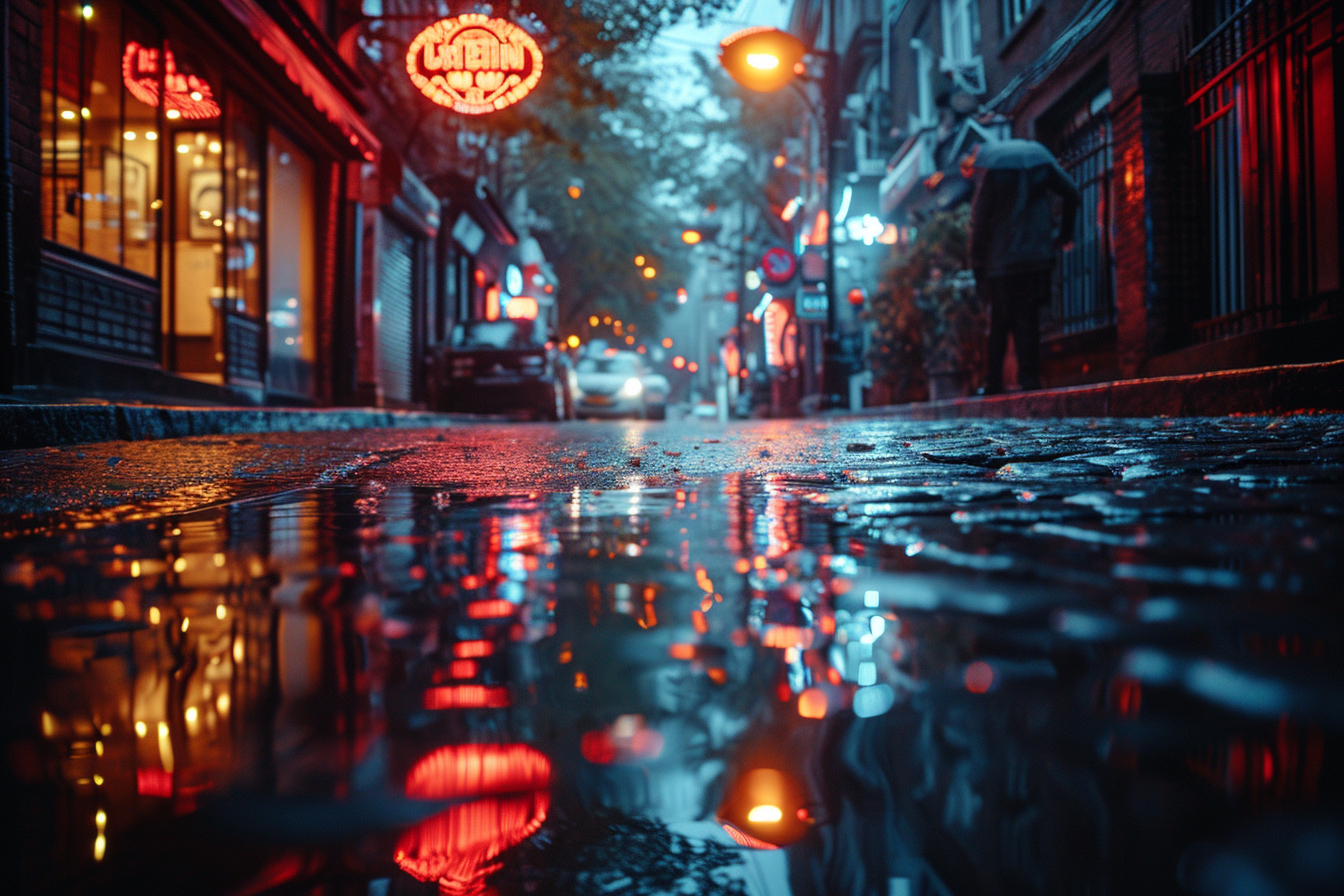
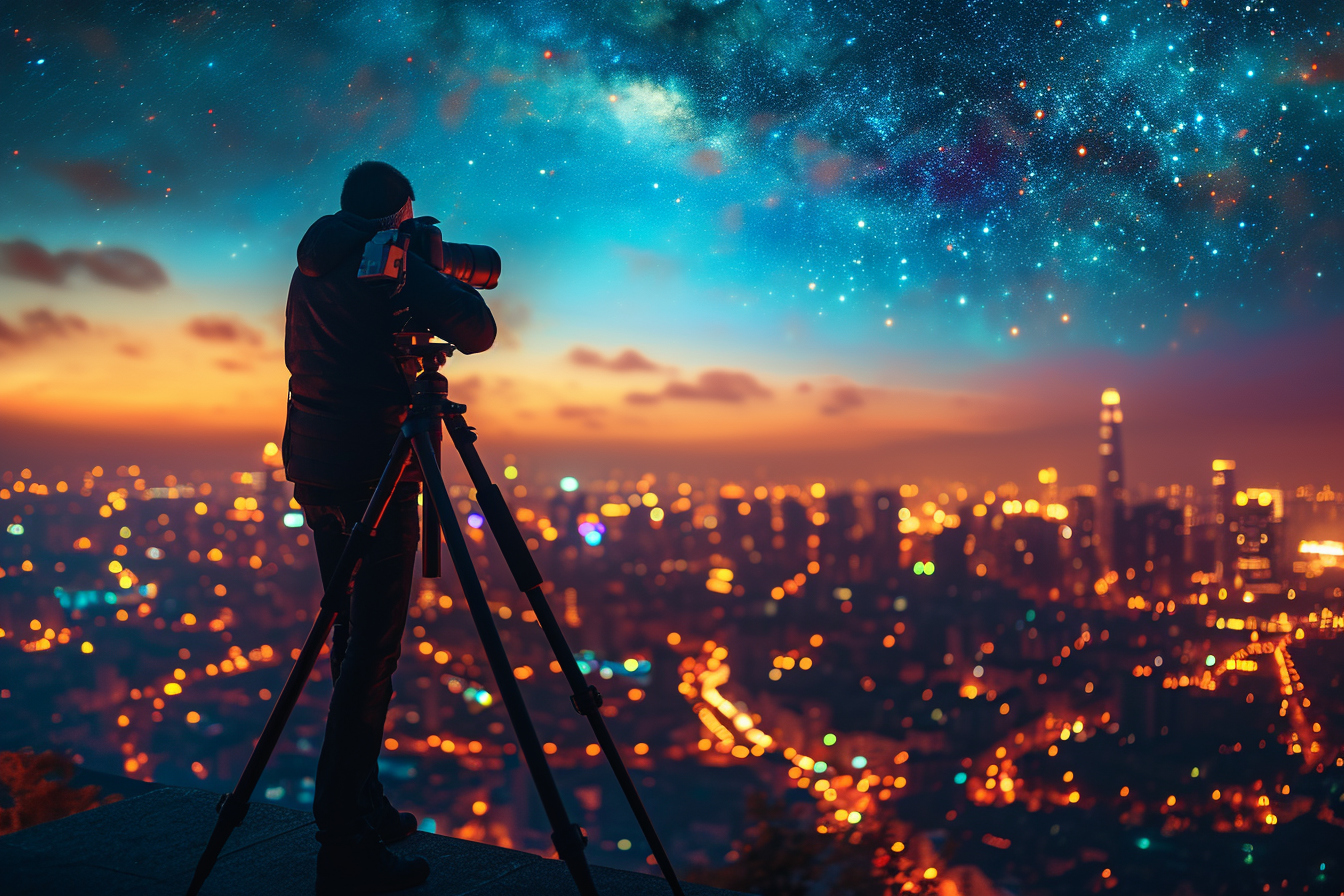
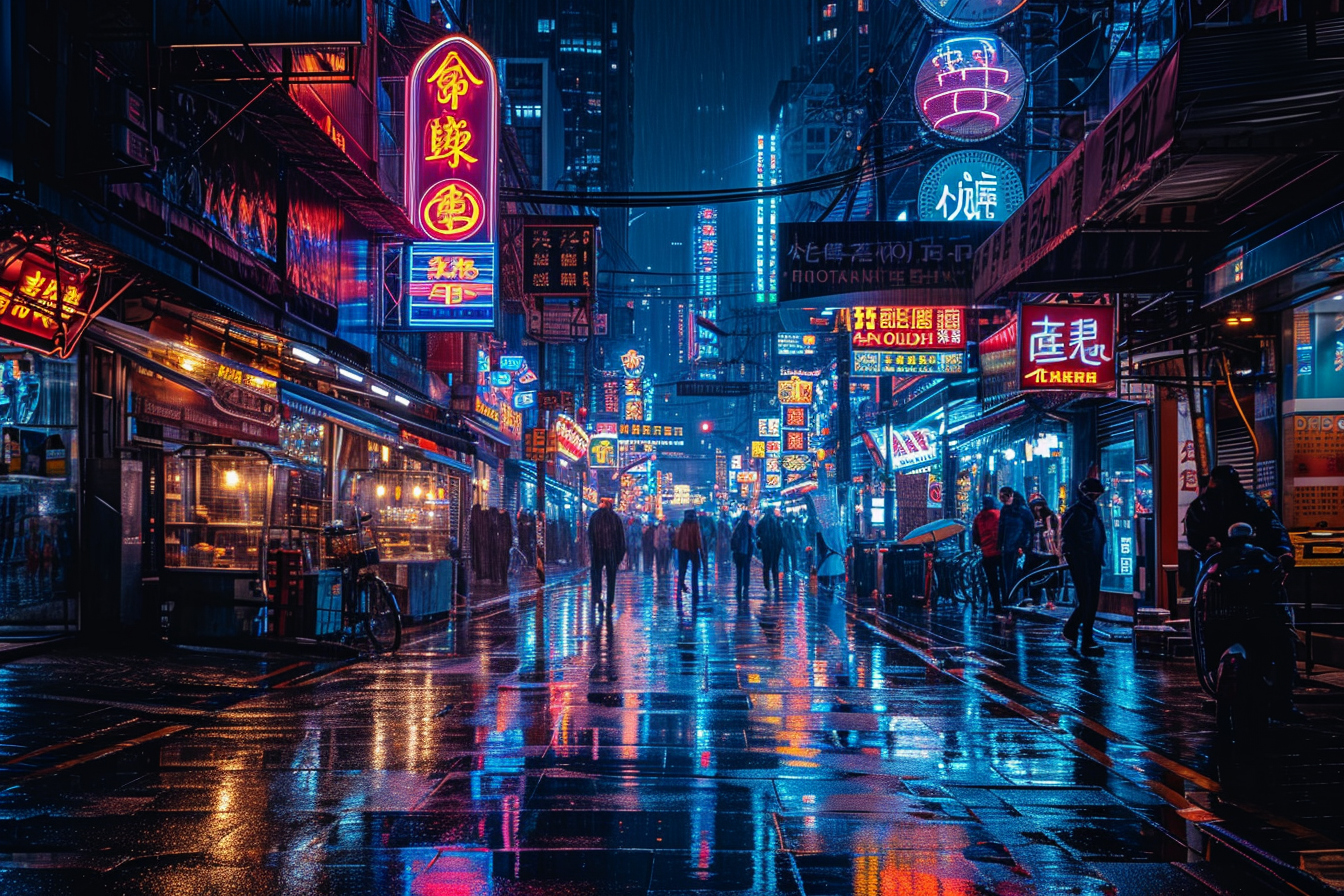
Photography after sunset presents a unique blend of challenges and opportunities. The cityscape comes alive in a different way, offering scenes steeped in artificial lights and shadows that transform the mundane into the magical. Capturing this transformation requires a solid understanding of various photographic techniques and tools. This deep dive into urban night photography will empower photographers to excel in capturing the city’s nocturnal charm.
Understanding light and exposure

Light—arguably the most critical component of photography—is scarce at night, making understanding exposure imperative. Exposure is the amount of light that hits the camera’s sensor, and it is determined by three key settings: aperture, shutter speed, and ISO.
aperture
Aperture refers to the size of the hole inside the lens through which light enters. A wider aperture (a lower f-number) allows more light to hit the sensor, making it ideal for night photography. For urban landscapes, an aperture of f/2.8 or wider is favorable. However, a balance must be struck because a wider aperture reduces the depth of field, potentially blurring parts of the scene that the photographer might wish to keep in focus.
Shutter speed
Shutter speed controls the duration the camera’s shutter remains open. Slower shutter speeds allow more light to enter but can lead to motion blur. This can be used creatively in urban night photography to capture the movement of vehicles or people. However, to avoid unintentional blur, using a tripod becomes essential when employing slower shutter speeds.
iso
ISO reflects the sensor’s sensitivity to light. Higher ISO settings make the camera more sensitive to light, enabling faster shutter speeds in low-light conditions. But increased sensitivity comes with the downside of added noise, which can degrade image quality. Thus, the goal is to find the highest ISO that provides an adequate exposure while maintaining acceptable noise levels.
Choosing the right equipment
Success in urban night photography starts with having the right gear. While a recent smartphone camera can sometimes surprise with its low-light capabilities, a dedicated camera with manual controls is preferred.
camera
A DSLR or mirrorless camera with the ability to adjust ISO, aperture, and shutter speed manually is indispensable. A full-frame sensor is beneficial for its larger size and superior light-gathering ability, but crop sensors can also capture remarkable night images with the correct settings.
lenses
Fast lenses with wide apertures are advantageous. Prime lenses with an f/2.8 or wider aperture are excellent choices. When selecting a lens, consider the focal length. Wide-angle lenses are ideal for expansive cityscapes, while telephoto lenses can isolate and compress subjects for a unique perspective.
tripod
Because of the long exposure times often needed, a sturdy tripod is non-negotiable. It will hold the camera still and prevent shaking that can lead to blurred images. For urban environments where mobility and space might be limited, consider a versatile tripod that’s lightweight and has a small footprint.
Remote shutter release
To further minimize camera shake, use a remote shutter release or your camera’s built-in timer to trigger the shutter without physically touching the camera.
Composition and framing
Finding intriguing compositions at night—amidst alternating patterns of light and shadow—can be challenging. Applying time-honored composition techniques like the Rule of Thirds, leading lines, and framing can bring order and interest to chaotic urban scenes.
Rule of thirds
Divide the frame into a grid of nine equal rectangles, placing key elements at the intersections or along the lines to create balance and visual interest.
Leading lines
Use urban elements—such as streets, bridges, or railways—as leading lines that guide the viewer’s eye through the photograph.
framing
Frame the subject with archways, windows, or other structural elements to draw attention to it and add depth to the image.
Light trails and movement
In capturing the energy of the city, intentional motion blur and light trails present opportunities to infuse images with vibrancy.
Capturing light trails
To capture the streak of lights from vehicles, use a slow shutter speed of several seconds. Adjusting the aperture and ISO accordingly will help achieve a balanced exposure. A good starting point might be a shutter speed of 10-30 seconds, an aperture around f/8 to f/16, and a low ISO.
Freezing movement
To freeze movement, such as a pedestrian passing by a static background, a faster shutter speed is necessary. This requires a higher ISO or wider aperture to compensate for the reduced light.
High dynamic range (hdr) imaging

The wide range of brightness levels from the darkest shadows to the brightest lights in the city at night can be challenging to capture in a single exposure. HDR imaging, which combines multiple exposures of the same scene taken at different brightness levels, can preserve detail in both highlights and shadows.
post-processing
The post-processing stage is where the captured images can be refined. Balancing colors, adjusting exposure, reducing noise, and enhancing details will elevate the final image.
Color balance
Streetlights and neon signs introduce various color temperatures. Adjusting white balance can neutralize unwanted color casts or be used creatively to enhance the mood of the urban scene.
Noise reduction
High ISO settings can result in noise. Employing noise reduction algorithms during post-processing can help clean up the image without compromising detail.
Exposure and contrast adjustments
Bringing out details in the shadows and taming overly bright highlights can be achieved through exposure and contrast adjustments. Techniques include using curves, levels, or shadow/highlight sliders in photo editing software.
Sharpness and clarity
Finally, selectively applying sharpening and clarity can make key details pop and give the image a polished look.
Safety considerations
Safety should never be an afterthought when out photographing at night. Always be aware of your surroundings, stay in well-lit areas as much as possible, and if feasible, bring a friend. Ensuring personal safety ensures the ability to focus on the craft without unnecessary distractions.
Legal and ethical considerations
When venturing out for urban night photography, photographers should respect privacy laws and property rights. Avoid photographing private property from locations where photography is prohibited and always ask for permission when in doubt. Respecting subjects and their privacy is not just a legal matter, but an ethical one as well.
In practice
Armed with these techniques and considerations, photographers are well-equipped to explore the enchanting world of urban night photography. Experimentation is the key to developing a personal style and to mastering the unpredictable yet captivating environment of the city after dark. Every urban landscape holds a multitude of stories waiting to be captured, and nightfall presents the unique stage upon which these stories unfold visually.
With endurance and a creative mindset, photographers can find beauty and intrigue woven into the fabric of the night. Embracing the unpredictable interplay between shadow and artificial light opens up a canvas for stunning photography. It’s in the communion between technical skill and creative vision that the nocturnal cityscape reveals its secrets, compelling photographers to keep venturing out long after the sun has set.

